Today was the reveal day for the tie dye shirts. Eight of them. And its not like you can pull them out of the bag and hold them up to see, either, because the dye is dripping everywhere and needs to be rinsed out, and then a trip through the washer and drier before they're done.
What I like about tie dye, is that there is no failure. Your item may or may not resemble what you had in mind when you tied it up and squeezed some dye all over it, but it is always an interesting result. The dyes are pretty, so the shirts are too.
We got some interesting and entertaining results. Yes, I took pictures!
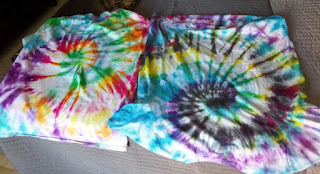 |
| swirly! |
These are our swirled shirts. The basic idea is to grab a center point on the shirt and turn until the whole thing is coiled up. You can tie or rubber band around it to hold it together, which sometimes works better than other times. The backs of both of these - shown - turned out brighter than the fronts. Not sure why. The purple along the left side of the left shirt has some interesting shapes to it, and I really like how the red and black went together on the shirt on the right.
 |
| pleat folds |
I folded my shirt vertically, and Carl folded his on a diagonal. I used red and blue, while he used more of a variety. We got more white space on Carl's than expected, but it doesn't mean it isn't a cool looking shirt. I really like the effect of that red strip on the back of my shirt, and I got a surprising effect on the front, as modeled here:
 |
| Is that an arm? I don't think this is going to add any support in that area... |
Raine did more of a folded technique on her shirts, one on the diagonal, and one vertical and she got some interesting results as well. Not her first time dying, but her first with artistic intent involved. She was about 4 when we tie dyed last time.
 |
| Raine's shirts |
I did one of those gather up a pointy hunk of fabric and wrap rubber bands around it here and gather up another hunk over there kinds of shirts as well, and got some lovely, colorful results.
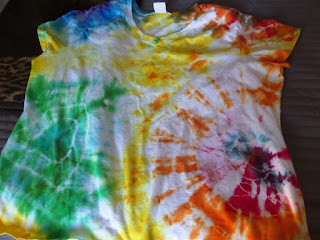 |
| rings of color! |
I really like the yellow, which I used on the parts of the shirt that weren't tied into hunks, it is bright and happy, and the orange is awesome, too.
Finally, Carl made a black dye on heather grey shirt. He said he put so much dye on it, he was afraid it was going to come out all black. Nope.
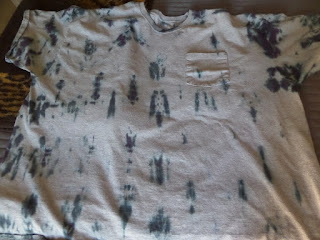 |
| Rorschach's test anyone? |
Not as much dye as you would think, but, is that a guy in a suit over there on the left side below the seam? I think he's coming in for a hug. Here's a close up of the spot just to the left of the pocket.
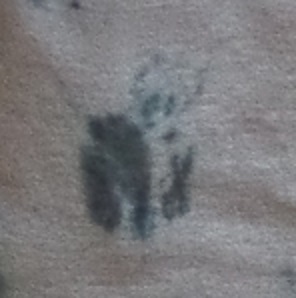 |
| Yep, definitely a panda... |
You can't plan this stuff people. Even if you don't get what you expect - or maybe even hoped for - it is still visually interesting, and THAT, my friends is success.


